Friday, July 31, 2015

Take It Easy . . .

Happy Friday Everyone!
OMG!  Can you believe it is already the END of JULY?
Where Oh Where is the time going? 

Anyways, I need to ask ... "Have you been to the Dies R Us store lately?"
There have been literally hundreds of new dies released 
and offered through out this month and you'll want to get your order in right away!

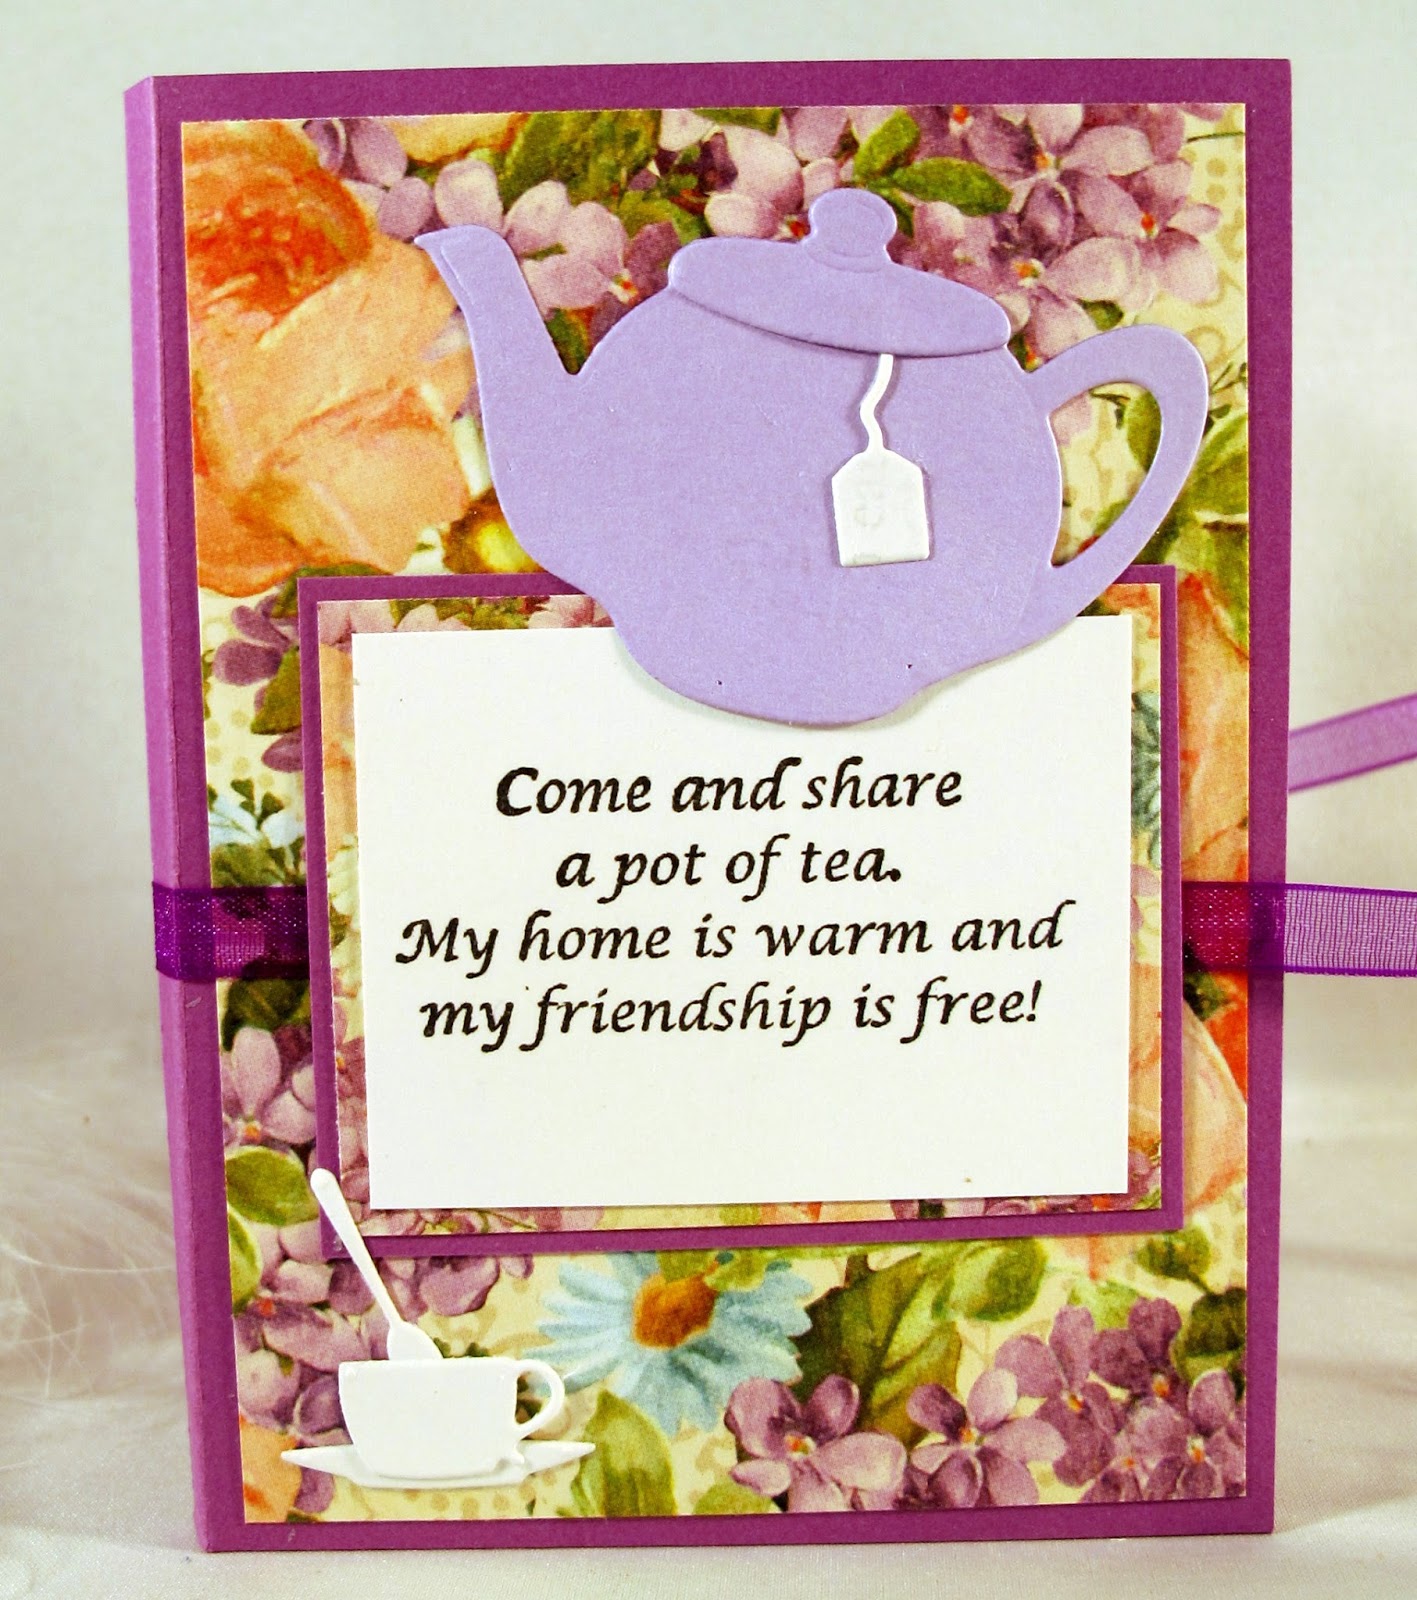
Today I've created a card for the Dies R Us Inspiration Blog and I hope to offer you a little warm weather inspiration along the way!  By using die cuts, ink & sponges, I think I've succeeded in creating a card that just by looking at it gives you a feeling of peace and tranquility!

Who doesn't enjoy sitting on a park bench just listening to the birds singing in the trees?  Well, that's what  I had in mind when creating today's card using only TWO die cuts.
The dies I've used today are:

When I can't find the background design paper I want to use, I simply pull out my ink and sponges and create my own as I've done today.  Plus I wanted my dies to be the focus of my card ... not the background.


To create the various colors for my birds/butterflies, I first die cut the entire die using green card stock then used scraps of red, blue and purple card stock to run back through just those portions of the die that contained the birds/butterflies.  A little snip here & there ... a touch of white glue and VIOLA ... the birds were singing their happy tunes!

Challenges:
As You Like It Challenge - Fur or Feathers (and Why)
 I'm going with Feathers!  Who doesn't enjoy watching the birds and listening to their sweet songs.  That is one of my favorite relaxation things to do.  Sit on the deck with a cool refreshment and watch the birds come & go to our 3 different feeders.  Of course I get the advantage of the FUR element as well since where there are bird feeders there are also squirrels!  LOL!
DRS Designs Challenge #185 - Cause a Scene
 Southern Girls Challenge - Anything Goes

Thanks so much for stopping by today!
Please remember we have a NEW CHALLENGE beginning tomorrow and will last through August 13th.  The theme will be:  SUMMERTIME FUN (YOUR interpretation!)
I hope you'll come join us!

As always,
Wishing you a FABULOUS weekend ahead and . . .

Thursday, July 30, 2015

Cardabilities Reveal #128

Hello Dear Friends!
It is time once again for the new Sketch Reveal 
Here's my card and today's sketch ... I hope you'll come join us!
You will have until August 13th to join in our challenge and please be sure to review our rules.
One rule I'd like to mention is:  your entry can be shared with only 3 additional challenges in order for you to qualify for our prize. 
 
Our wonderful sponsor today is:

Feel Free to Grab My Badge for Your Blog!


Please pop over and check out the amazing designs from my team mates !
These ladies sure are keeping me on my toes!!  LOL!

Challenges to share in:
Crafty Time July Challenges - Punches and/or Dies
Digi Galore Challenge - Summery & Bright
Thanks so much for stopping by today!
I hope you'll come join in the challenge fun at Cardabilties!
As always . . .
Recipe:
Papers -  white cs, DCWV sky dp
Image -  Sami Stamps 'Butterfly Friends'
Accessories - Heartfelt Creations 'Blazing Poppy' Stamp & Die, Heartfelt Creations 'Botanical Rose' Stamp & Die, Sue Wilson 'Maidenhair Fern' #CED1433, PoppyStamps 'Classic Ribbons' #1005, Memory Box 'Stitched Circle Layers' #30036, Martha Stewart butterfly punch, Spectrum Noir alcohol markers, Diamond Stickles, Heartfelt Creations 'GoManGo' Prill, Flower Shaping Kit, Fiskars Swivel Kraft Knife

Tuesday, July 28, 2015

Dies R Us ... Red, White & Black

Happy Tuesday Everyone!
Today's card was created for the Dies R Us Inspiration Blog.
I do hope you've taken the opportunity to pop in for your die cutting inspiration.  
My team mates and I try to give you a wide variety of inspiration and hope you find something that fits YOUR style of crafting!

Today I have a fun birthday card to share which utilized the 'negative' portion of a die cut I recently used on another card.  Let me show you what I'm referring to ...

 The dies I have used are as follows:
Spellbinder Nestabilities Class Oval 
(I've used the original OLDER set)...
but you could also use the newer 
Spellbinder Nestabilities 'Floral Oval'  #S4-356 
(not currently available)

It is the 'Loveland Corner' die I'm referring to in regards to using the 'negative' portion.  Earlier in the month I die cut this die in RED and in WHITE and had both those panels laying on the crafting table.  On my earlier creation I decided to use the RED (positive) die cut which left me with the 'negative' panel and both the positive & negative panel of the white.

 By simply matting my red panel onto a black mat 
then 'INLAYING' the white positive die cut,
THIS was the result and I love how it looks!  How about you?

I also utilized the small flowers/stars that popped out of my 
Spellbinder sentiment panel by just gluing them here and there through out the body of the card. And of course, the white hearts that popped out of my corner die were used on the INSIDE for a finishing touch!  (You know how it is ... we crafters don't like to waste anything!  LOL)
No?  Well, you owe it to yourself to pop over there right now and check them out!!

Don't forget about our Challenge Blog!
New challenges posted on the 1st and 15th of each month!
YOU could be our next winner of a Dies R Us Store Voucher!!

Challenges to share in:
Card and Scrap Challenge #100 - Anything Goes
Card Mania Challenge #70 - Anything Goes
Creative Craft Cottage Challenge #44 - Anything Goes
That's it for me today!
Thanks so much for stopping in and I hope you're having a wonderful week!
As always . . .

Sunday, July 26, 2015

Tea Bag Holder Cards w/Tutorial

HAPPY SUNDAY ALL!
Yesterday I mentioned I was working on some tea bag holder cards for the local Tea Shoppe (Marge's Place At Portage Lakes LLC) and thought you might like to see some of them and how I made them.  Here ya go ...


Now here's how you make them . . .

You will need:
1 sheet of 12 x 12 card stock (makes 2)
Patterned Paper, sentiments & embellishments of your choice
Scor Tape


*  Cut your 12 x 12 card stock at 7"
*  Turn and cut your 7" x 12" in half (6")
*  Score each panel (on the 7" side) at 3 3/8" & 3 5/8" giving you a 1/4" spine.
*  Turn and score at 1 1/2" ... giving you the pockets for your tea bags.

* Fold as shown.  Use 1/8" scor tape (or fine line of white glue) on ends and middle then fold UP to create your pockets.


Now comes the fun part ... decorating!
Measurements you will need:
Front Panel - 3 1/8" x 4 1/4"
Inside Pocket Panels (2) - 3 1/8" x 1 1/4"
Ribbon - Approx. 20"  (narrow, easy to tie ribbon is best)


Here's a trick I use for attaching my ribbon evenly ...
Using my Darice Cutting Mat (you can use whatever you have that shows measurement on both side and bottom).  I lay my card face down along the bottom line then run a piece of thin scor tape across from side to side along one of the measurement lines.
Fold my 20" piece of ribbon in half, then laying that center mark of the ribbon in the center of my card first and smoothing out from side to side.
That way, I know the ribbons will batch up on the sides for tying.  As well as being level across the front of my card.
 
 NOW you can attach your sentiment and any addition embellishments you prefer.


** FINISHED CARD **


I hope you've enjoyed this little project and will give it a try.  
Thanks for stopping by!
Hope you're having a FABULOUS weekend!
Challenges to share in:
Aud Sentiments Challenge #136 - Anything Goes + Sentiment
Crafty Ribbons Challenge - Anything Goes + Ribbon
Crafty Gals Corner #29 - To 'Die' For
Word Art Wednesday #193 - Anything Goes
Through the Craft Room Door - Anything Goes Wk of 7/21

We are meeting our Toledo, OH friends 'Half Way' for brunch!  
I'm excited to see them again and 'catch up!'
As Always . . .
Items used for embellishment:
Accessories:  Impression Obsession 'Tea Set' #DIE197, PoppyStamps 'Dainty Tea Set' #1148, Offray 1/4" pink satin ribbon, Rubber Cottage 'Come Share' stamp, Gold Pilot Marker

Saturday, July 25, 2015

New Addition to the Cave!

Happy Weekend Everyone!
While I've been busy creating some tea bag holder cards for the local tea shop (Marge's Place at Portage Lakes LLC) and working on design team projects, hubby's been busy finishing up a project he started for me a short while back.
Anyone who knows me, knows my crafting area is in our unfinished basement and I'm okay with that!!!  I have tons of room and believe me, I'm filling it up fast!  LOL!
 
The new addition to my cave is not fancy mind you ... but it is going to work out GREAT for me!


The make shift table I was using for my light box was too short and I kept knocking the lights off and breaking the bulbs.  SO frustrating!  After discussing 'my problem' with hubby ... this was his solution!

We had taken apart an old entertainment center a few years ago and had the pieces out in the garage  ... JUST IN CASE we might need it again (NOT!!!).  So he decided to REPURPOSE the boards and here's what he came up with.  PRETTY COOL I THINK!!!


As you can see, he put two slide out drawers (with side and back stoppers to keep things from falling off) on one side and a rod and racks for storing my extra light box clothes, etc. on the other side.

 It needs a little touching up here and there to give it a more 'finished look' but I just had to put a few things in place and share a couple pics with you all!!

Here's a few other photos of my 'cave'  I've taken along the way ...


Hubby built this 8 ft. fold down table for me last year for my birthday so I could set up my cards, etc. that I take to the craft shows.  This way, I can see how much room I will have for my display.
Plus with the pegboard in the back it has given me extra hanging space to share some of my projects and projects I've received from crafting friends.

I LOVE MY CAVE!! 

Enjoy the rest of your weekend!
As always . . .

Friday, July 24, 2015

Dies R Us - Christmas in July

Hello Friends!
There's no time like the present to get started 
on those holiday cards!
I couldn't wait to receive some of the new holiday dies released 
from Memory Box and available in the Dies R Us Store.

Today I've created a card as an inspiration sample for the Dies R Us Inspiration Blog.  I've used both a NEW die and a couple OLDER dies.  I love being able to combine dies to create a quick and impressive card creation!  I think I've succeeded in doing that today ... hope you think so too!

These newly released dies go in & out of stock quickly so be sure to get your order placed while they are available!  Today I've used one of the new Memory Box snowflake dies called Dazzling Snowdrift Corner #MBD 99272 which unfortunately at the time of this posting ... is out of stock.

 This is really a fun die!
The snowflakes actually cut & pop out for additional versatility on your card (as I have done today).  First I die cut my corner die from white card stock ... then from a scrap of the medium blue I used for my background panel, I die cut just the 3 larger snowflakes.  I lightly sponged Tim Holtz 'faded jeans' distress ink onto the blue snowflakes and inserted them into the my corner die panel where the white snowflakes were popped out from. 
Follow me?
Maybe this closeup will help ...
 

After getting the corner created to my satisfaction, I decided to use a couple of the white snowflakes from the original cut along with these adorable Memory Box 'Precious Mittens' #98663 and of course a sentiment.  In this case, I chose the Cheery Lynn Designs 'Merry Christmas Set' #B186.
 
Of course every holiday card needs a touch of sparkle so I grabbed my red Stickles and added a dab here and there to 'pull it all together'!  

AGAIN ... be sure to get your holiday dies on order NOW!
The prices at the Dies R Us store are fabulous  ... as are the shipping charges ... and the selection is AMAZING!!!!

Don't forget about our CHALLENGE BLOG ... please come join in the fun!  Today's card actually fits with the current challenge which is CHRISTMAS IN JULY!!  You have until the 28th to get your entry in and YOU could be the winner of a gift voucher to the store! 

Challenges I'd like to share in today:
Pile It On Challenge #78 - Christmas/Winter in July
My Time To Craft Challenge - Christmas in July
The Stamping Boutique - Red, White and/or Blue
Emerald Faeries Challenge #69 -  Christmas in July
Live & Love Crafts Challenge - Christmas in July 
Paper Creators Crafts Challenge - Christmas in July

Thanks so much for stopping by today!
I hope you have a fun & fabulous weekend!
As always . . .

Wednesday, July 22, 2015

Sisterhood Summer Heat ...

Today there's a new challenge over at The Sisterhood of Crafters
and Vickie has asked us to create with the theme

SUMMER HEAT
(hot colors or summer theme)

I guess you could say I combined both ideas on my card.


I began with the HOT COLORS idea but as time went on
it became more of a summertime ocean scene
and since I had this fabulous 'Inspired by Stamping'
sentiment stamp, my card quickly turned into a card of encouragement.
And, I'm okay with that!

The sky background paper is from a VERY OLD DCWV 12x12 pack
as is the water paper which I've 'torn' to create waves and depth.
The sky & water paper was so similar in color that
I decided to sponge a bit of TH 'Picked Raspberry' distress
ink over the white clouds and it worked perfectly!

Please be sure to pop over to see the amazing creation my sisters
have created for you today!  And then, come join in the fun!

Challenges:
Crafty Sentiments Designs - Anything Goes
Papertake Weekly Challenge - Build It Up
Crafty Cardmakers and More - Water
Path of Positivity Challenge - Sharing

Thanks so much for stopping by my blog today
and as always . . .


Recipe:
Papers:  Black cs, White cs, Lime Green cs, Hot Pink cs, DCWV dp
Stamp/Ink:  Inspired by Stamping 'Words of Inspiration' / Versafine Onyx, Tim Holtz 'picked raspberry'
Accessories:   Impression Obsession 'Sea Birds' die set, Frantic Stamper 'Nautical Icons' die set
Technique:  Torn paper

Tuesday, July 21, 2015

It's a Boy!

Hello Everyone!  Happy  Tuesday!
NO ... sorry ... no baby boy's born around here lately!
BUT, I'll be ready if there is!  
Check out this adorable set I've created as my 
DT project over on the Dies R Us Inspiration Blog.

There are several different companies at the Dies R Us store that have some sweet, amazing baby related die cuts ... just go to the Search Box and type in BABY ... you'll be amazed at all the fun things that pop up!

The dies I've used today are:
Spellbinder (OLD) Shapeabilities - 'Playtime' #S4-261

 Isn't this onesie just adorable!
Wouldn't it make a wonderful birth announcement card?
I've added faux stitching with a white gelly roll pen where the embossing lines are when die cut ... just for added flair without bulk.  You could do so much with this onesie die cut!  Keep it simple as I have today ... or really dress it up with patterned paper and embellishments.


Being a 'boy card', I felt something with wheels was necessary!  LOL!
Did you notice I colored the nipples on the bottles?
Quick & easy touch with my Spectrum Noir Alcohol mark TB1.

If there's something in particular you're looking to create and can't find the die cut you need ... be sure to pop over to the STORE and type your topic in the Search Box ... I'm sure it will come up with some fabulous selection for you to choose from!

Remember to come join in our Dies R Us Challenge!
There's a new themed challenge on the 1st and 15th of each month and one lucky winner receives a $10 gift voucher to the Dies R Us StoreThat could be YOU!!!  Plus, the design team picks their TOP 3 favorites of each challenge.  What fun!!
You still have time to join in the current challenge ...  
CHRISTMAS IN JULY!
Just be sure to use die cuts on your creation to qualify!
OH AND ALSO ... if you do play along in our challenge, you'll want to be sure to pop over to the Inspiration Blog and leave a comment on one of the designer's inspirational posts!  By doing that, you will receive an EXTRA chance to win!  YAY!

Okay, that's it for me today!  I hope to see you soon!
Thanks for stopping by today and as always . . .

Monday, July 20, 2015

God Sent You!

Happy Monday All!
I have a sweet card to share today that was created with another beautiful image
from the Crafty Secrets Creative Scraps called 'Little Blessings'.
There is not an image on this sheet that I don't love!!  
Each one is precious and perfect to showcase on your card front.


Recipe:
Anna Griffin background design paper
Offray satin ribbon
Heartfelt Creations 'Birds and Blooms' stamp/die
Spellbinder D-Lites Garden Weave Corner Die  S2-006

I think this card will be a nice surprise for one of those friends that you see periodically but think of often!  I have just such a person in mind and this card will be in the mail today!

Challenges to share in:
Alphabet Challenge - 'K' is for Kind Thoughts
Crafting with Friends Challenge #2 - Anything Goes
Digitally Sweet Challenge #140 - Anything Goes

Thanks so much for stopping by today!
Hope your have a FABULOUS week ahead!
As always . . .

Friday, July 17, 2015

2 Crafty Girls ... come check it out!

HELLO EVERYONE!
I have some exciting news and a fun challenge to share with you today 
that I hope you'll come play along in! 
The *NEWS* I'm referring to is that I was asked a short while back
to be a member of the Design Team on the New & Improved
2 Crafty Girls Challenges will begin again in August!  
We have so many amazing surprises planned for you! 
Make sure you check back beginning July 24 to learn more about our DT members and 
to find out who our celebrity GDT is in the scrapbooking world!!!
BUT RIGHT NOW ...
2 Crafty Girls is having an inlinkz party celebrating you!!!!
That's right!  We want you to share your favorite project with us 
that you have created so far in 2015.  
I wanted to play along....so I went back through my blog posts this year 
and here's what I chose...
 
I am always in need of masculine birthday cards
when I do my craft shows and here is one that I created at the
beginning of 2015 and had ready for a show I did in April.
(Yep ... it sold! lol)

I have so many different creative style favorites
but when I think of creating a card for the 'guys' ... I always turn
to my Stampscapes stamps and ink.  
Actually quick and easy ... but still has that WOW factor!
NOW IT'S YOUR TURN!
We want to celebrate your work so far in the year 2015!
So...create a blog post that shows your favorite project that you made in 2015 
and tell us why it's your favorite project!
We would love for you to show us some love and 
put our fan badge in your post along with the link to the blog!
 
 Thanks for stopping by ...
As always ...

IF YOU'D LIKE TO SEE A PHOTO TUTORIAL ON CREATING THIS SCENE, PLEASE LEAVE ME A COMMENT.

Recipe:
Papers:  White cs, Black cs, Medium Blue cs
Stamps:  Stampscapes 'Lakeside Cabin' #147F, Stampscapes 'Leafy Branch' #277F, Magenta 'Vertical Happy Birthday'
Accessories: Handmade oval template, Eclipse Masking Medium (used to create the moon), Various blue dye ink, sponge daubers, Versafine Onyx ink